We used most of our session yesterday learning to weave baskets. You may recall that when the Beta Yisrael lost their "Jewish Empire" back in the early 16th century, eventually losing their wars against Christian tribes, they were thrown off their lands and forced to earn their livelihood through various crafts, such as blacksmithing (which earned them the reputation of being servants of the
buda - the evil eye), ceramics, weaving cotton and flax threads into cloth, and weaving baskets.
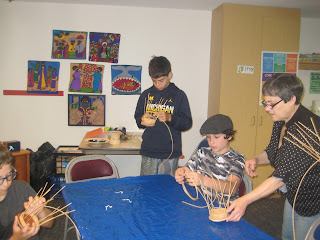
Rather than just having the students read about the skills and artistry of the Beta Yisrael in these crafts, I wanted to give them a chance to experience the patience, concentration and skill that it takes to produce them. Often, they had to work 10-15 hours a day to produce enough wares to earn the money needed to buy food and other raw materials from the farmers. And it wasn't only the adults who worked so hard - children were taught their family's craft from the age of 3, so that by the time they were the same age as our Edot students, they were already highly skilled artisans, working side by side with their elders.
Basket weaving seemed to be an ideal craft to introduce to the students, since all of them have had the experience of weaving simple projects, such as pot holders. For one hour, the students learned the basics of producing woven reed baskets, and the results were very impressive for the time we had available. Even before beginning the lesson, I made sure the class understood that no one expected them to produce high-quality baskets. Instead, the point of the lesson was to give them the opportunity to understand how much skill and effort is required to produce just one basket, let alone many.
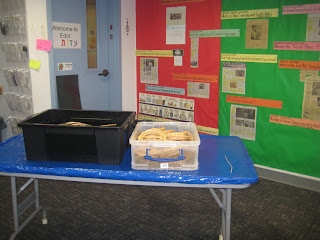 |
| Before the session started, I prepared two large bins filled with water to soak the reeds we would be weaving into baskets. The reeds had to soak at least an hour before they were pliable enough for weaving. |
 |
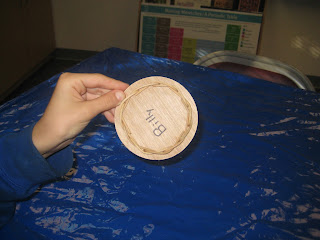
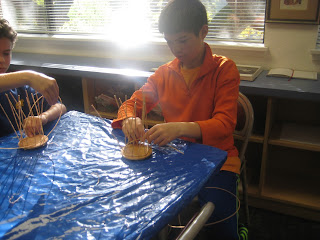
| Once our lesson began, each student received a round, wooden base with 11 holes drilled around its circumference. Each student was also given a bundle of eleven 10-inch "spokes" which they inserted into each of the holes, leaving about 2-1/2" sticking out of the bottom of the base. |
 |
| The reeds had to be kept wet, or else they would begin to dry and crack or even break. Every now and then the spokes would need to be dipped into one of the two large containers of water. |
 |
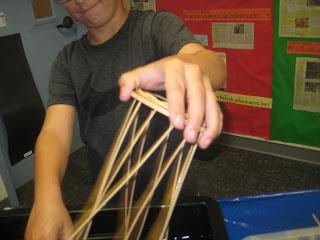
| Once all the spokes had been inserted, it was time to "anchor" them to the base by bending each one down to its right around the outside of the next spoke, then tucking it into the inside of the following spoke. |
 |
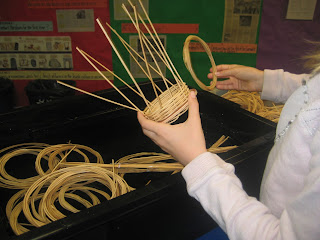
| Once this step was completed, it was time to begin the weaving process. |
 |
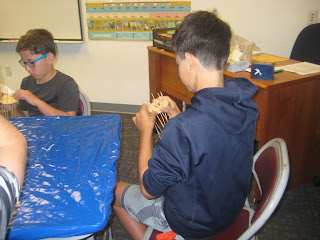
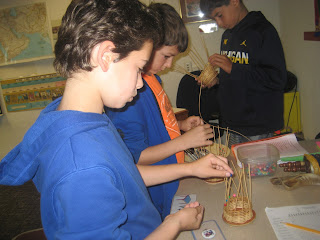
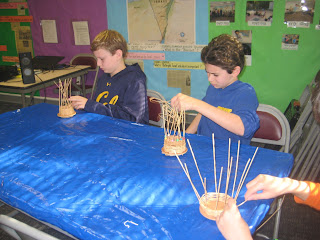
| This looked to be the simplest step, yet the students quickly realized you had to focus on several things as you wove: keeping the spokes wet enough to be pliable, making sure to hold up the spokes so they weren't woven into the basket by mistake, and making sure that the weaver reed didn't miss a spoke or get woven around the inside or outside of two spokes in a row. |
 |
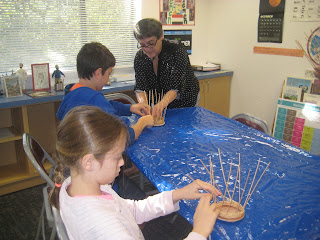
| Never once did I have to remind the students to concentrate on what they were doing, and their facial expressions show how focused they all were on the task. |
 |
| Each "weaver" reed was coiled by me ahead of time, so it was easy to pick out of the water bin. (Each weaver was about 4' long, and about 4-5 weavers were needed to complete each basket.) |
 |
| Once one weaver had been woven into the basket, the next one would be
uncoiled, then simply inserted over the end of the previous weaver to
continue the weaving process. |
 |
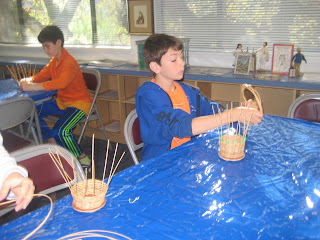
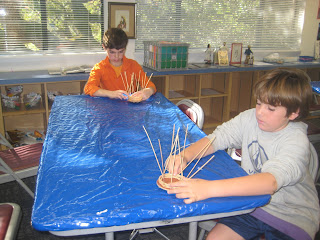
| Each student quickly found his or her own rhythm and comfortable position for weaving. |
 |
| Some preferred to stand, while others sat, and some changed positions as their mood suited them. |
 |
| Once the basket was about 2 inches high, it was time to add some decoration and color by putting a bead on each spoke before continuing to weave the rest of the basket. |
 |
| Some of the students took quite a bit of time deciding on the colors to use... |
 |
| while others kept life simple, and chose to use the same color bead for each spoke. |
 |
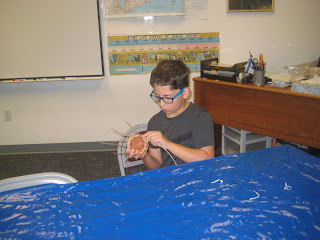
| And throughout the process, they all focused completely on their baskets. |
 |
| The shape of each basket was determined by how tightly the weaver was woven around the spokes. |
 |
| The tighter the weave, the taller the basket. |
 |
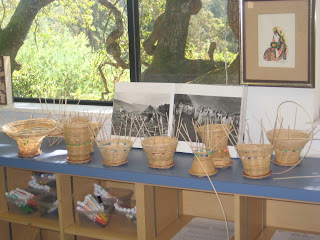
| When it was time to go up to the Sanctuary for tefillah, I had the students place their baskets on the counter, in front of photographs of the Beta Yisrael in their home province of Gondar, taken by the French photographer Frederic Brenner in 1983. These photographs are part of his book called "Diaspora," which includes photographs he took of Jewish communities all over the world. |
 |
| None of the students had a chance to finish their baskets since we ran
out of time. After the
session was over, I came back to the classroom and packed a bag for each
student containing his or her basket, any materials still needed to
complete the basket and an instruction sheet for how to do so. I 'm
hoping they'll take them home and complete the process there. |
One thing I can be sure of, is that my students are now very aware of how skilled and creative the Beta Yisrael basket weavers were, and can appreciate what it must be like to sit or stand for hours working at one's craft to produce enough to provide for the family's needs. Who knows, but we may have one or more skilled craftsmen-in-training at JQuest!


No comments:
Post a Comment