Friday, February 28, 2014

Carob Cupcakes

Our community of Hebrew Elective bakers is becoming very adept both in understanding the Hebrew terms for the ingredients and preparation instructions, as well as in the preparation techniques themselves.

As always, I begin the session introducing what we'll be preparing, speaking in Hebrew as I point to each vocabulary word on the white board:


This week, we prepared carob cupcakes. My introduction did include some English this time, since not only did I have to share the Hebrew word for "carob" (charoov), but I had to explain what a carob was. Only a handful of students had ever heard of a carob before, and those students knew only that it was a kind of tree that they had heard about in the "Honi Ha'me'agel" (Honi the Circlemaker) stories, read to them on Tu Bish'vat. Honi, according to this story found in the Talmud, planted carob trees all over the Land of Israel.

Once we had established what the main ingredient was, we rolled up our sleeves, warmed up our just-washed hands, and focused on preparing what would turn out to be one of the most delicious products of our Hebrew cooking elective.

La'seem et ha'chem'a b'toch ha'ke'ara ha'g'dola (Put the butter into the big bowl)

L'hoseef et ha'sookar me'al ha'chem'a (Add the sugar on top of the butter)

L'ha'kreem et ha'chem'a v'ha'sookar b'yachad, eem ha'etzba'ot (Cream the butter and sugar together with the fingers)
Cream them both until fluffy
Leeshbor et ha'beitzeem l'toch ha'ke'ara ha'k'tana (Break the eggs into the small bowl)
V'leetrof et ha'beitzeem eem ha'mazleg  (And beat the eggs with the fork)
Achshav, l'hoseef et ha'beitzeem la'chem'a v'sookar, b'toch ha'ke'ara ha'g'dola (Now, add the eggs to the butter and sugar, in the big bowl)
Az, l'hoseef L'AT L'AT et ha'kemach, avkat charoov, peetzpootzei charoov, ta'am vaneel, v'shamenet chamootza... (Then, add LITTLE BY LITTLE the flour, carob powder, carob chips, vanilla extract, and sour cream...)

(I should note here that when searching for recipes to prepare with the students, I keep an eye out for instructions like the above, which will allow as much interaction and cooperation between the students as possible - a community activity!)

...v'l'arbev et ha'kol b'yachad (...and stir everything together).


As with any community activity, certain opinions may be expressed - in this case, a Talmudic-like discussion arose about proper stirring techniques

La'avor et ha'batzek la'nee'ya'rot ba'tavneet (Transfer the batter into the papers in the muffin pan)
V'achshav zeh moochan la'seem ba'tanoor la'afot (And now it's ready to put in the oven to bake)

And behold, the finished product.  B'TEYAVON! (BON APETIT!)


Monday, February 24, 2014

Chamsa Family Workshop

Over the past few weeks, we studied the history of Babylonian Jews - the first Jewish community to establish itself outside of the Land of Israel, i.e. the first edah. Students wrote skits depicting major events and eras which we had studied, painted posters illustrating the events and eras, and baked menena pastries which Iraqi Jews include in their Purim baskets. Joel also taught us two songs - "Al Naharot Bavel" (from Psalm 137) and "Hallelu Avdei Adonai" (a spirited song, sung by Iraqi Jews on Simchat Torah as they march and dance with their Torah scrolls).

It all came together yesterday at our family Chamsa workshop.We began in Room 202 with the skits - five skits depicting (1) the siege and ultimate destruction of Jerusalem and King Solomon's Temple by Nebuchadnezzar's army in 586 B.C.E., (2) the arrival of the exiled elite of Judah to Babylon after a 500-mile march, (3) the birth of Judaism in Babylon, (4) a Rabbinic discussion in the Yesheeva (Talmudic Academy) of Pumbedita, which is recorded in the Babylonian Talmud, and (5) the Muslim origin story of the Chamsa.

We then all moved over to Room 201, where participants made copper foil Chamsas. Families were asked to discuss among themselves the Jewish middot (values) which had been presented during the skits, and then to create symbols for one or more of them to include on their Chamsas. Instructions were laid out on all the tables, as well as the tools and materials needed to shape and decorate the Chamsas. For about half an hour, families worked together to create these amulets of ancient origin.

We managed to fit everyone comfortably in Room 202. Parents sat on the chairs and students were relegated to "second-level" citizenship during the performances.
King Nebuchadnezzar ordering his general to break down the walls of Jerusalem

The Narrator describing the scene of destruction as Babylonian soldiers prepare to break through the walls
The Kohen Gadol (High Priest) of the Temple sharing with the Levite Temple Servant that there is no hope for saving Jerusalem or the Temple - "Adonai is punishing us for not having followed the Commandments."

Rabbis of the Yesheeva in Pumbedita discussing when to say the morning "Sh'ma" prayer
Pointing to the poster illustrating the era being covered in the skit
Recording history and oral stories of the People of Judah during the Babylonian Captivity,  in the form of the Torah scroll

Singing "Al Naharot Bavel" together
Students, parents, and grandparents in Room 201, making the Chamsas
The copper foil was VERY sharp, so we had to be careful when working with it...
...especially when cutting out the traced hand form
Decorating is completed - time to cut out the form
For added decoration, participants could choose to add bead chains to their Chamsas - you could punch one, two, or three holes at the bottom of the palm section of the hand...
There were lots of beads to choose from - big, small, glass, ceramic, and stone
String them on thin metal wire, then loop them into the holes you've punched
A few final touches...
...and you have a Chamsa that will protect you from the "Evil Eye" (what better weapon against evil than a smiling face - on the Chamsa and on its creator!)
There's no age limit to enjoying the creative process
At the end of the workshop, each family received a special gift from our "community Purim basket" - menena pastries which the students had prepared in class - Purim is just 3 weeks away!

As we were cleaning the room after the workshops, Josh found this Chamsa left on a table by an anonymous participant. It will hang in our Edot classroom to welcome all loving spirits.

Thursday, February 13, 2014

Making Menena Pastries

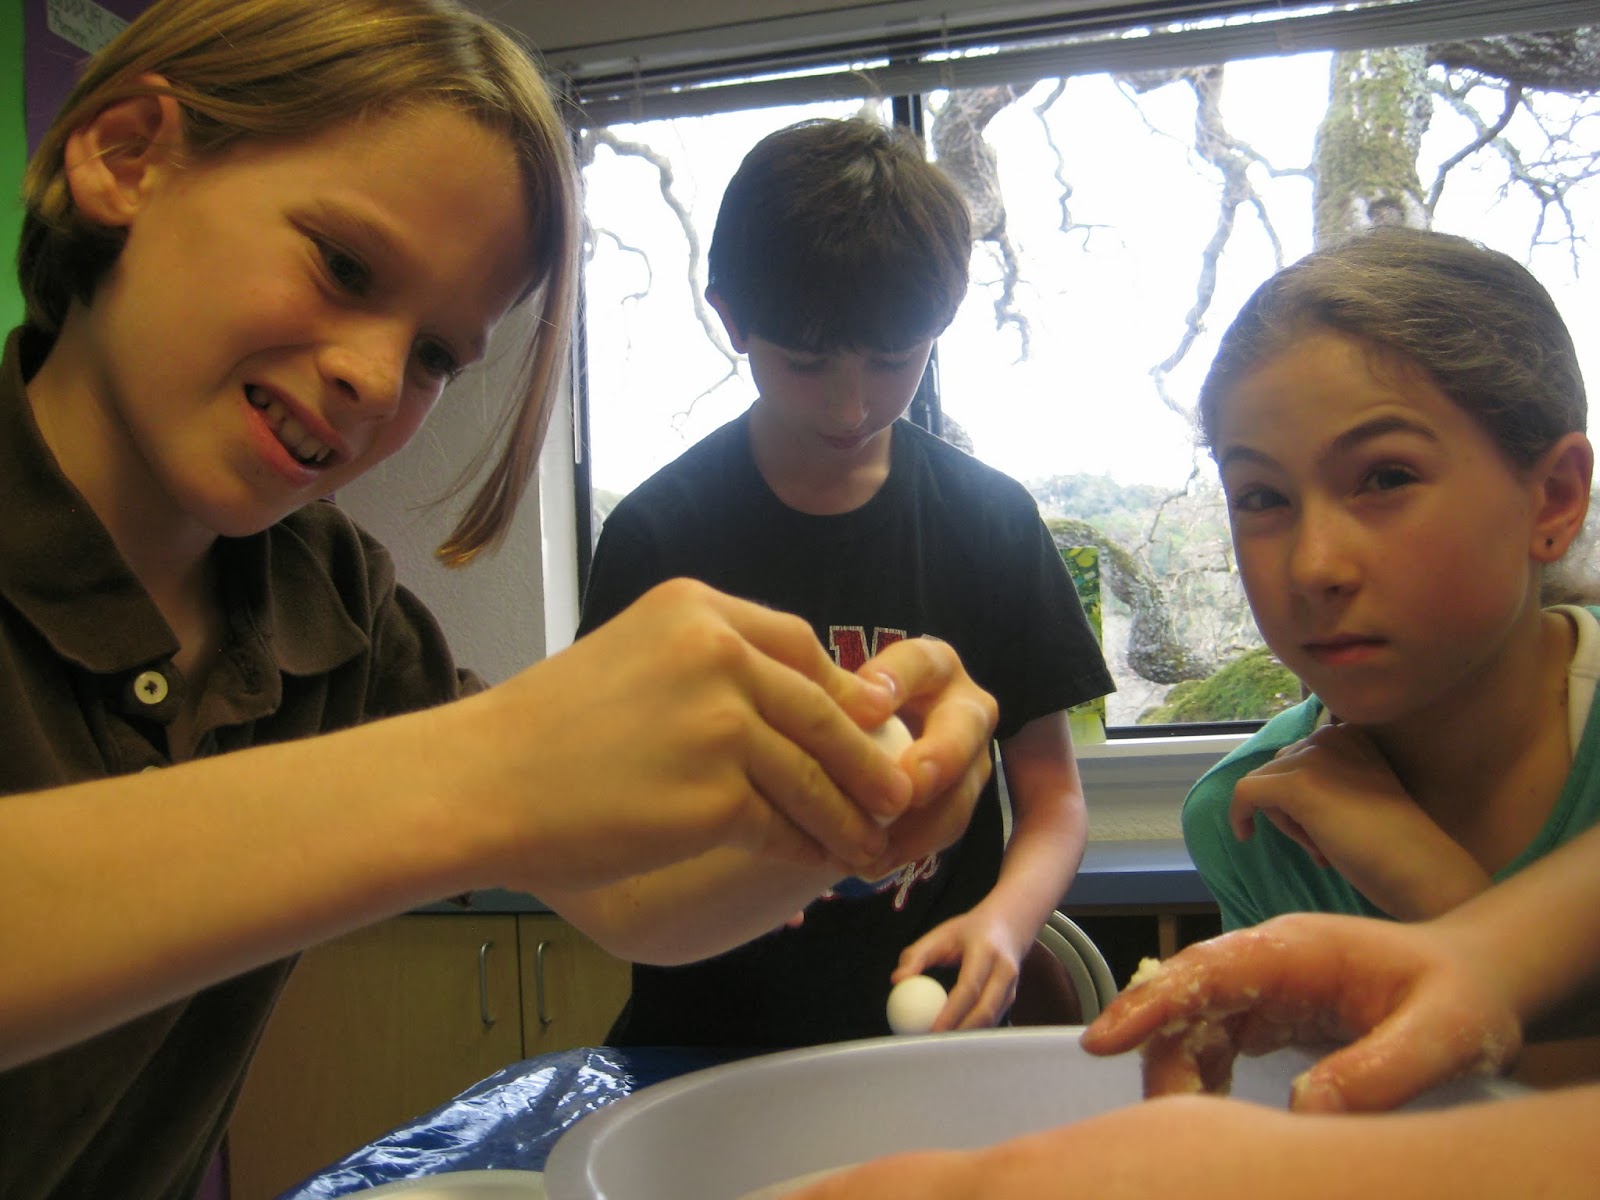
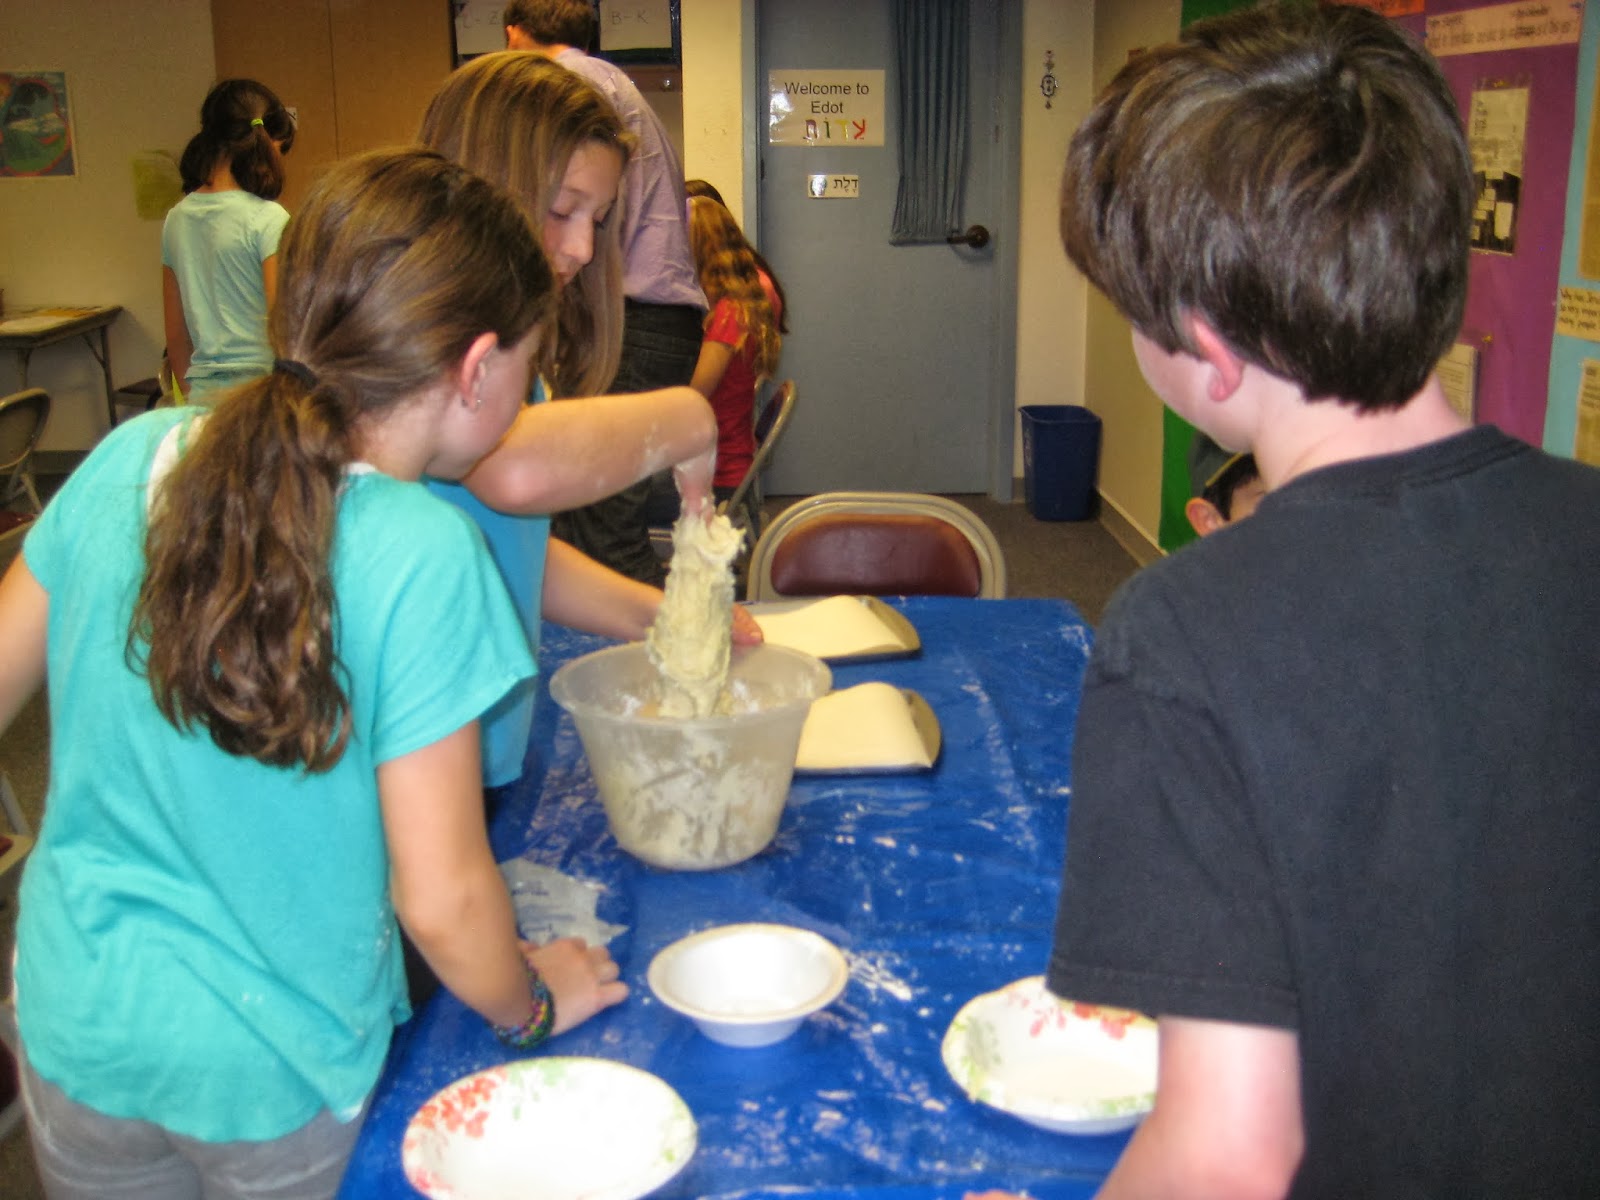
We used our final weekday session before our Edot Chamsa Family Workshop to prepare Menena. This is the Iraqi Jewish name for Arab pastries called "Ma'amoul," though they are a bit different from the Arab version. According to Claudia Roden, from whose "Book of Jewish Food: An Odyssey from Samarkand to New York" I borrowed the recipe, "Every Jewish family kept a boxful...."  These stuffed tartlets were especially popular during the Purim holiday, included in every basket of Mishloach Manot given to family, friends, and neighbors.

The most common filling was with walnuts or pistachios, though an alternate filling was a date paste, which we used since Isaiah is a nut-free zone.

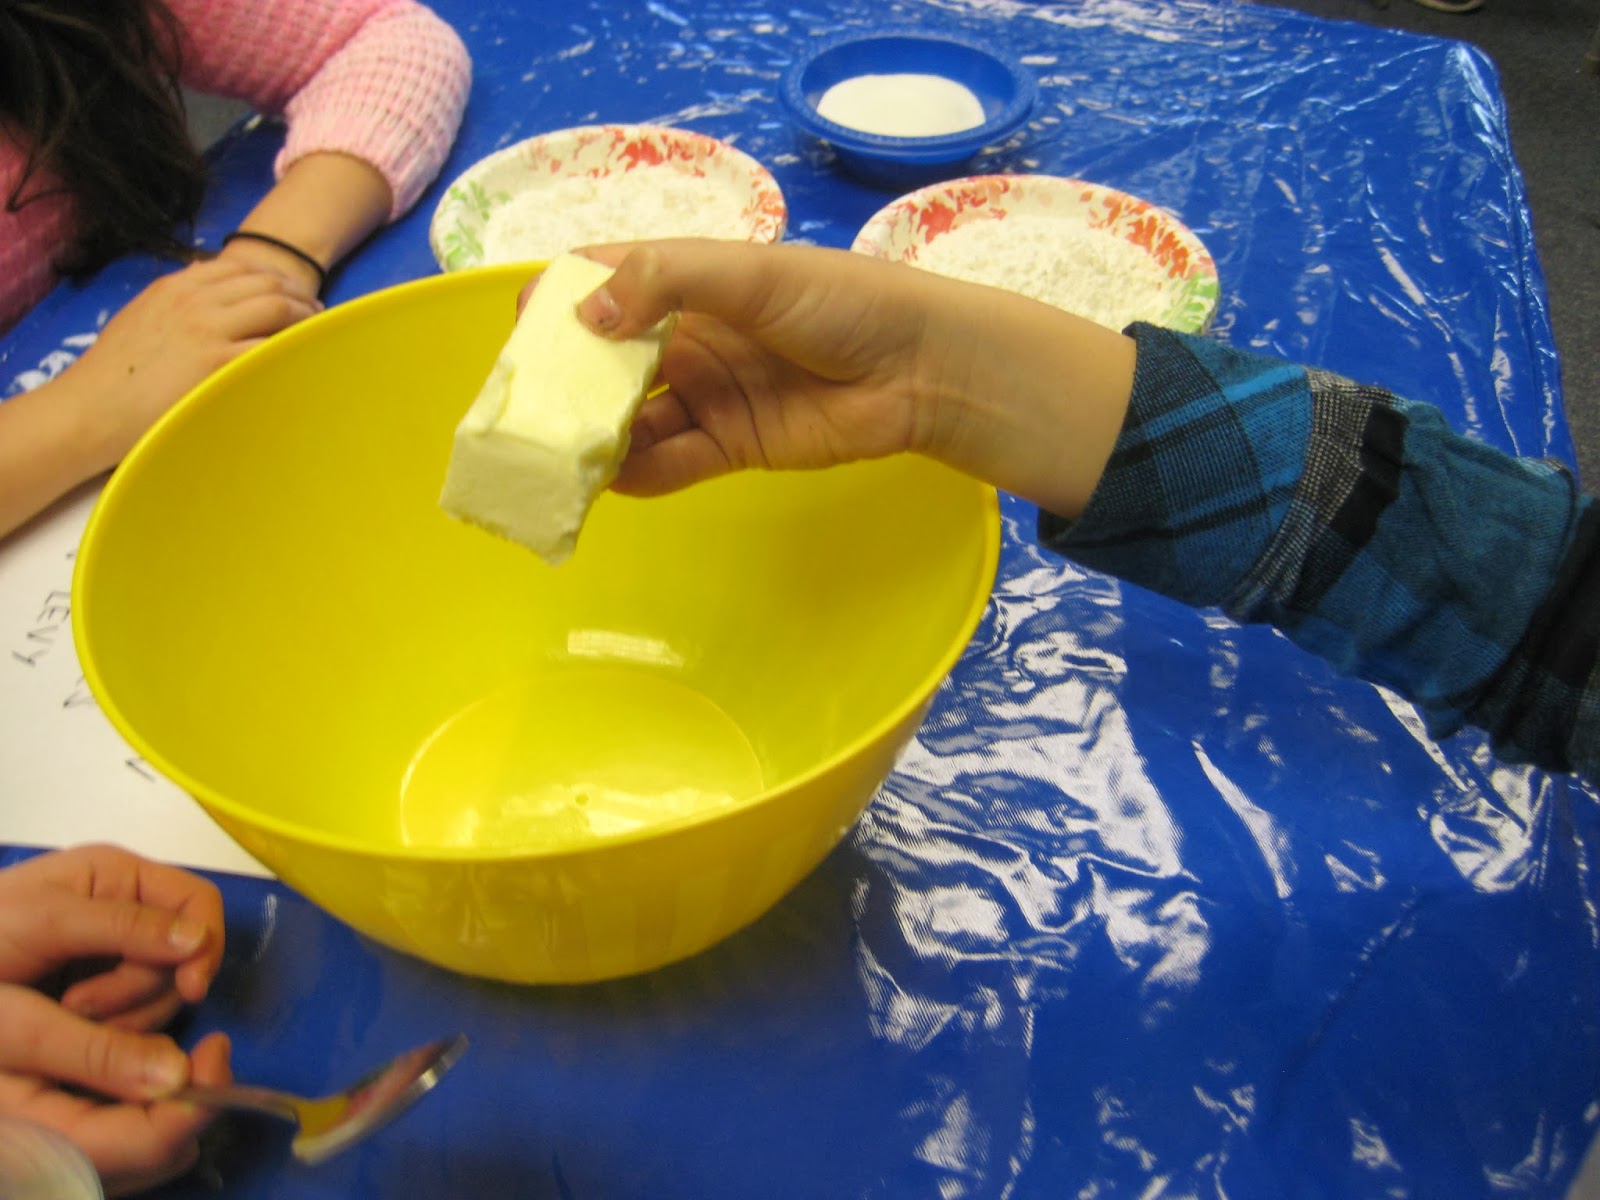
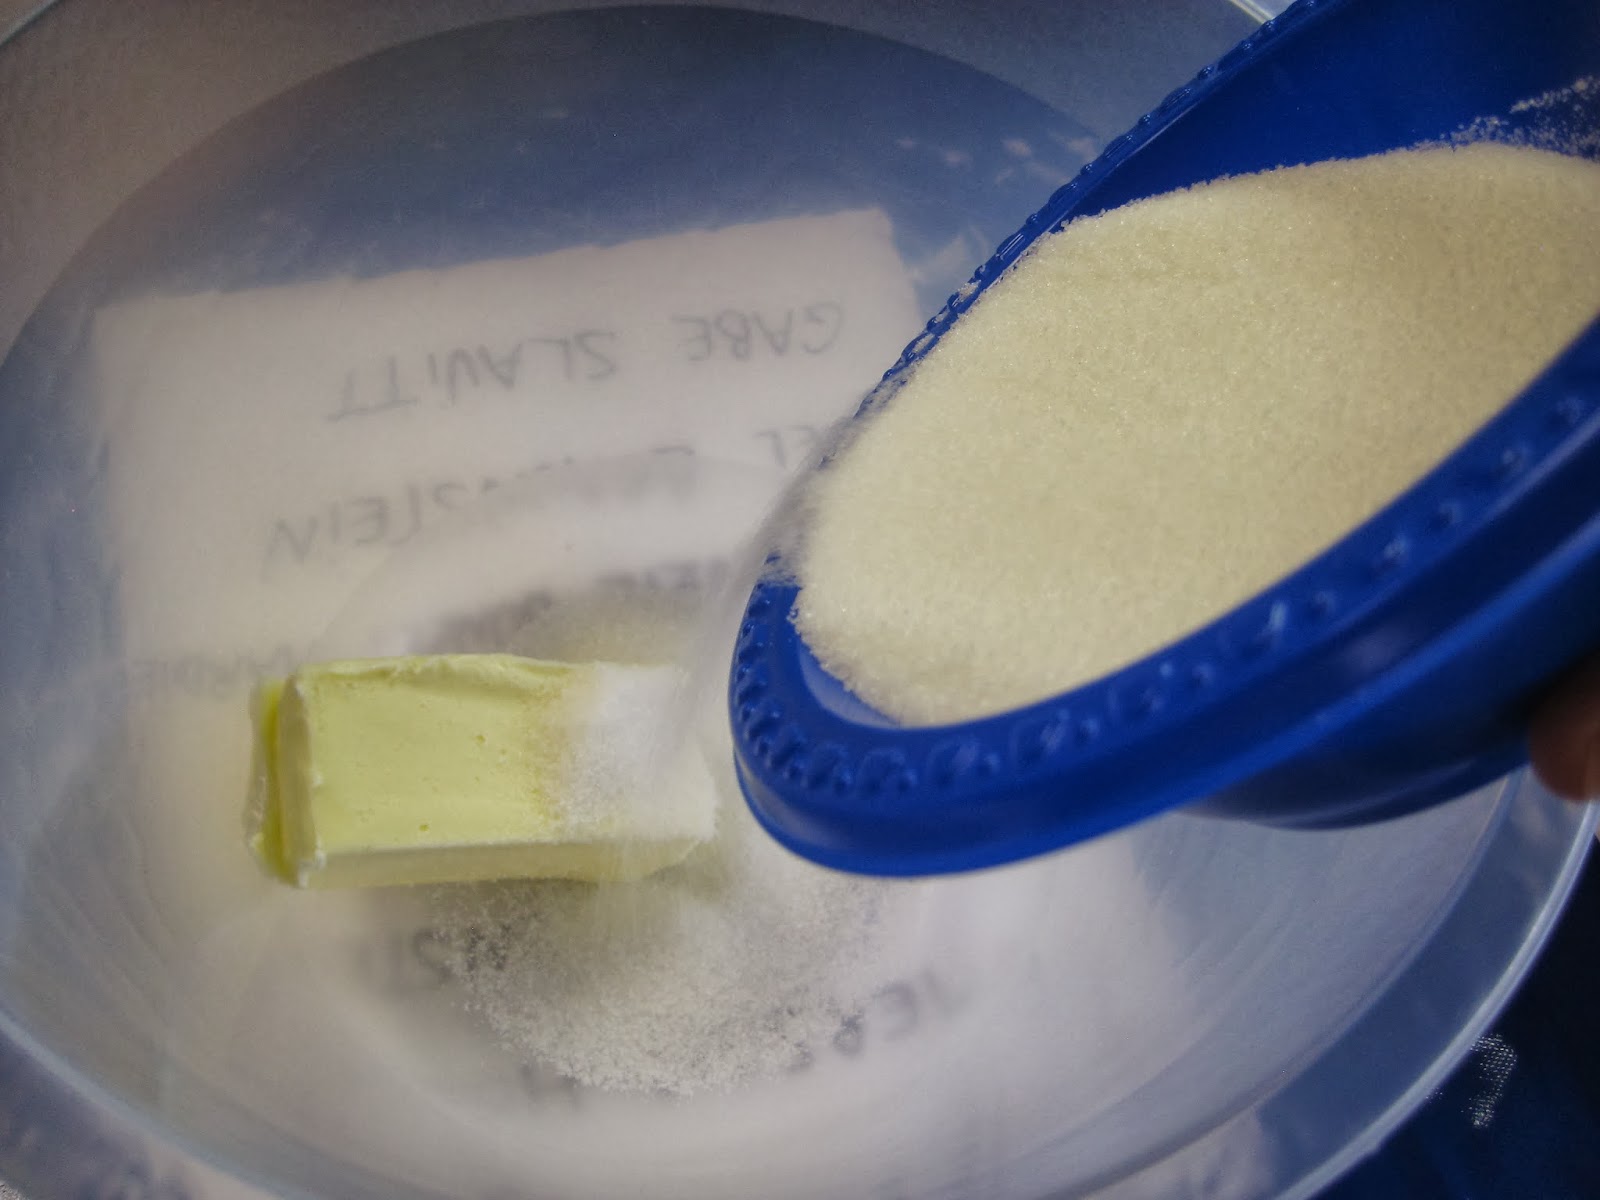
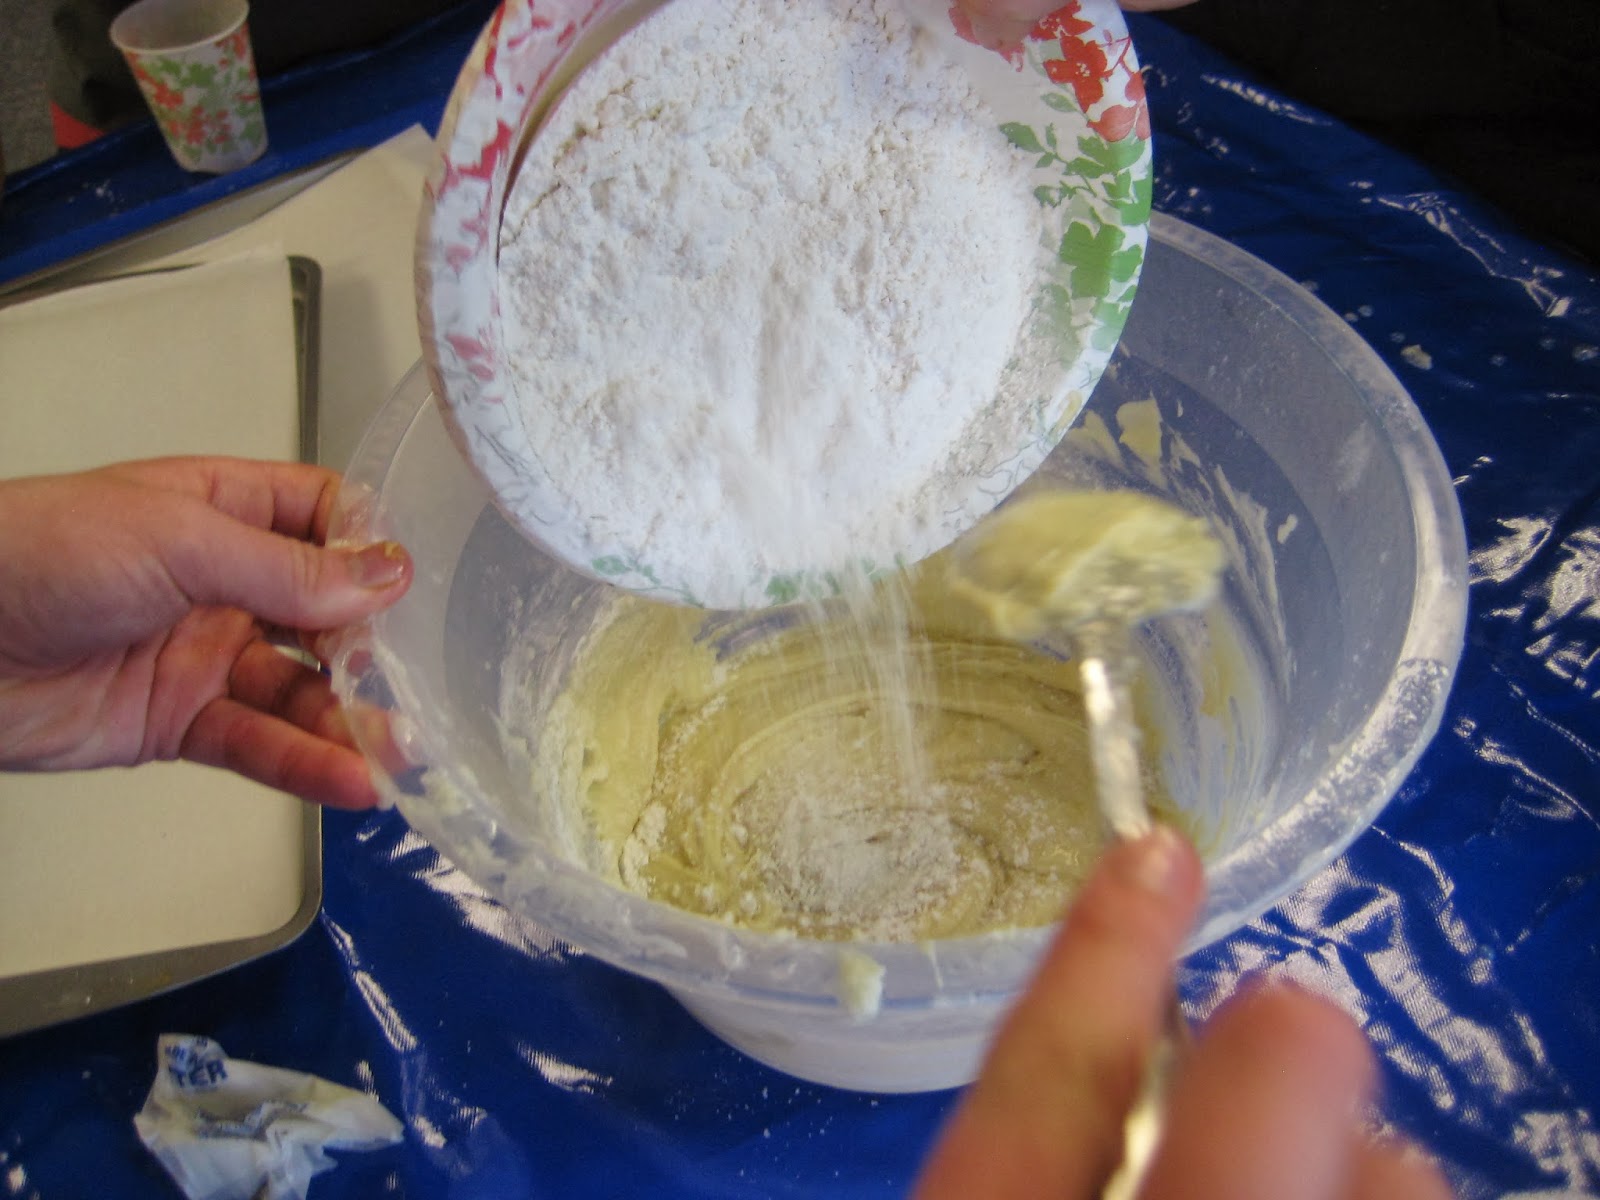
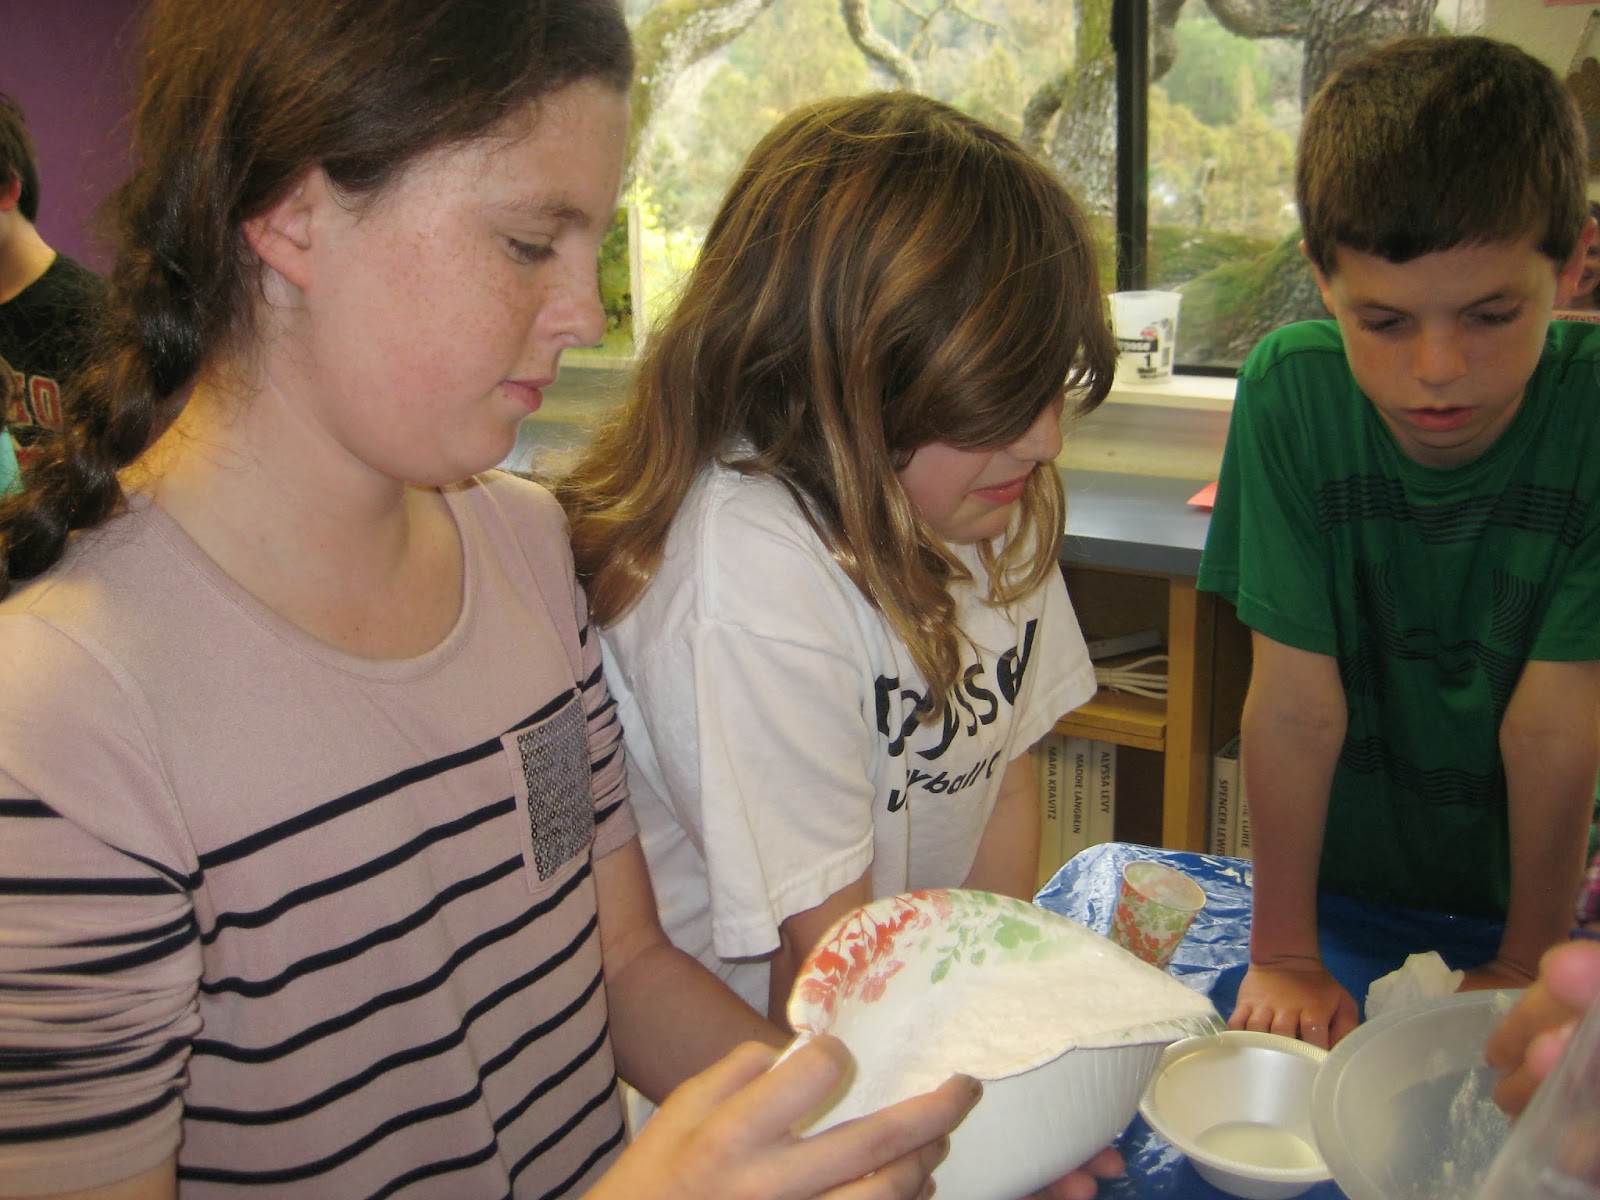
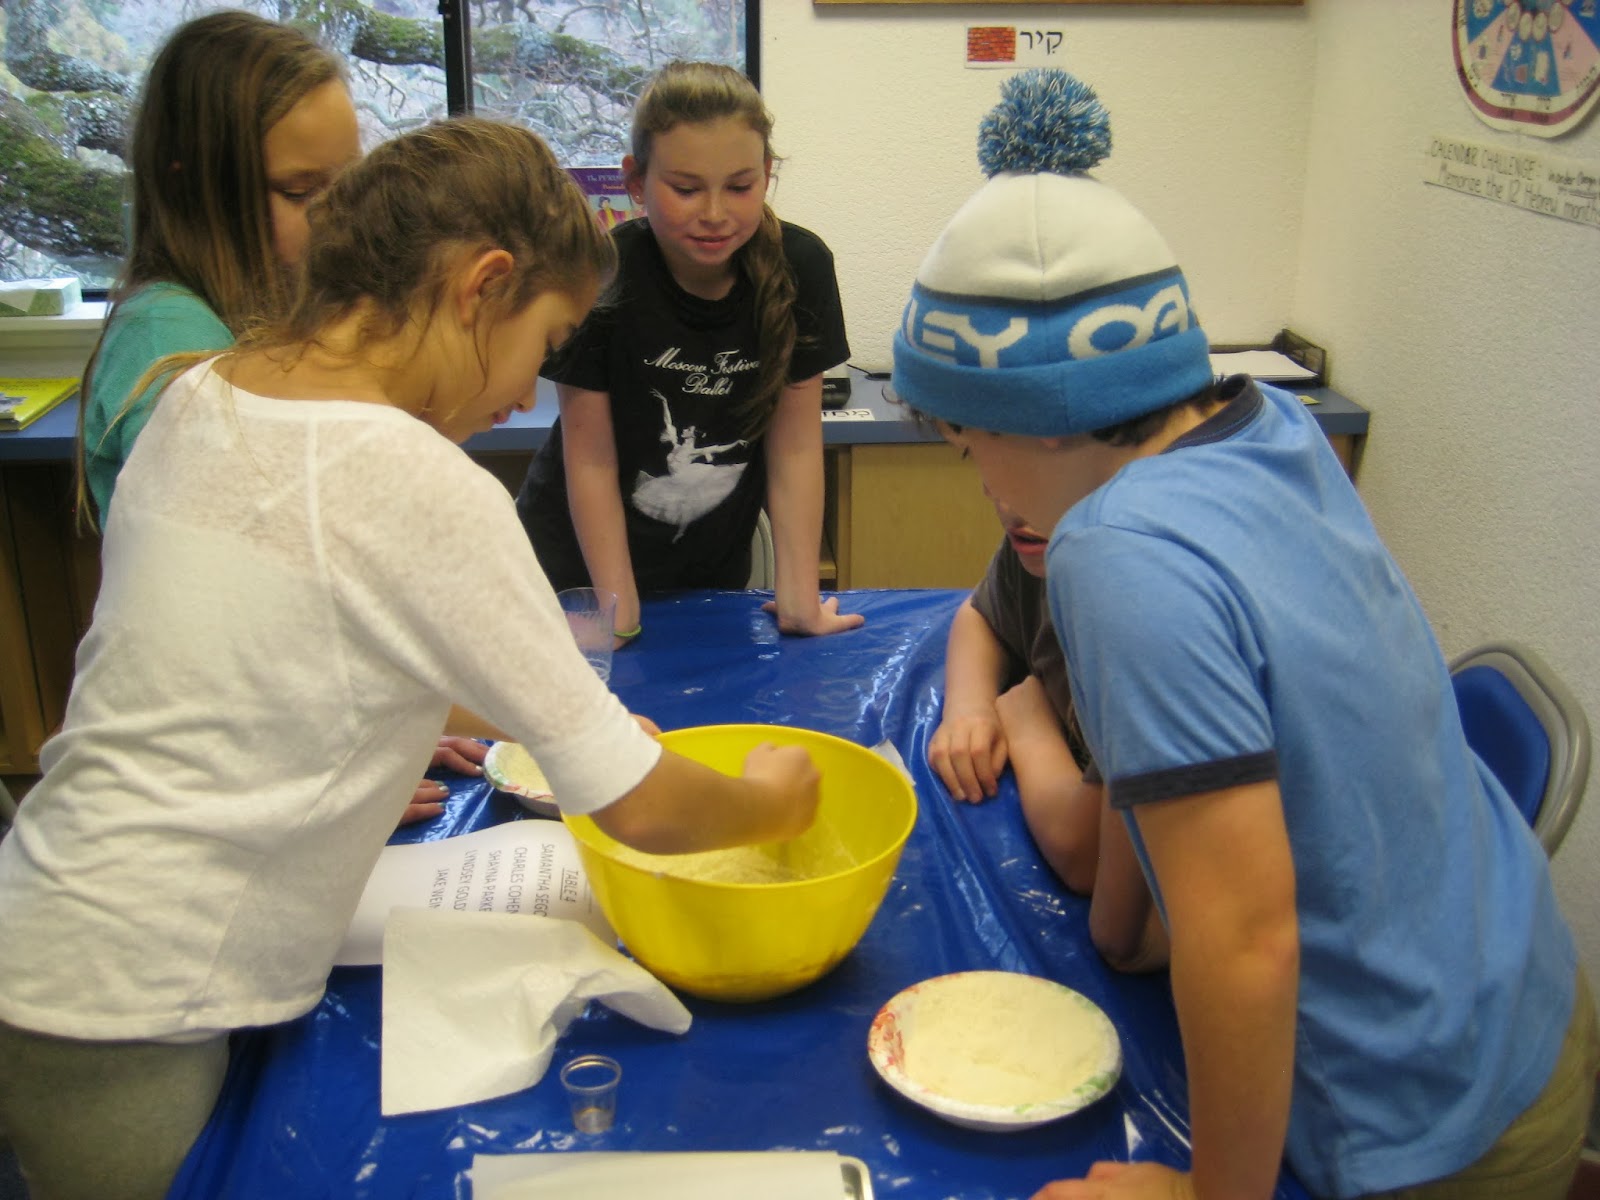
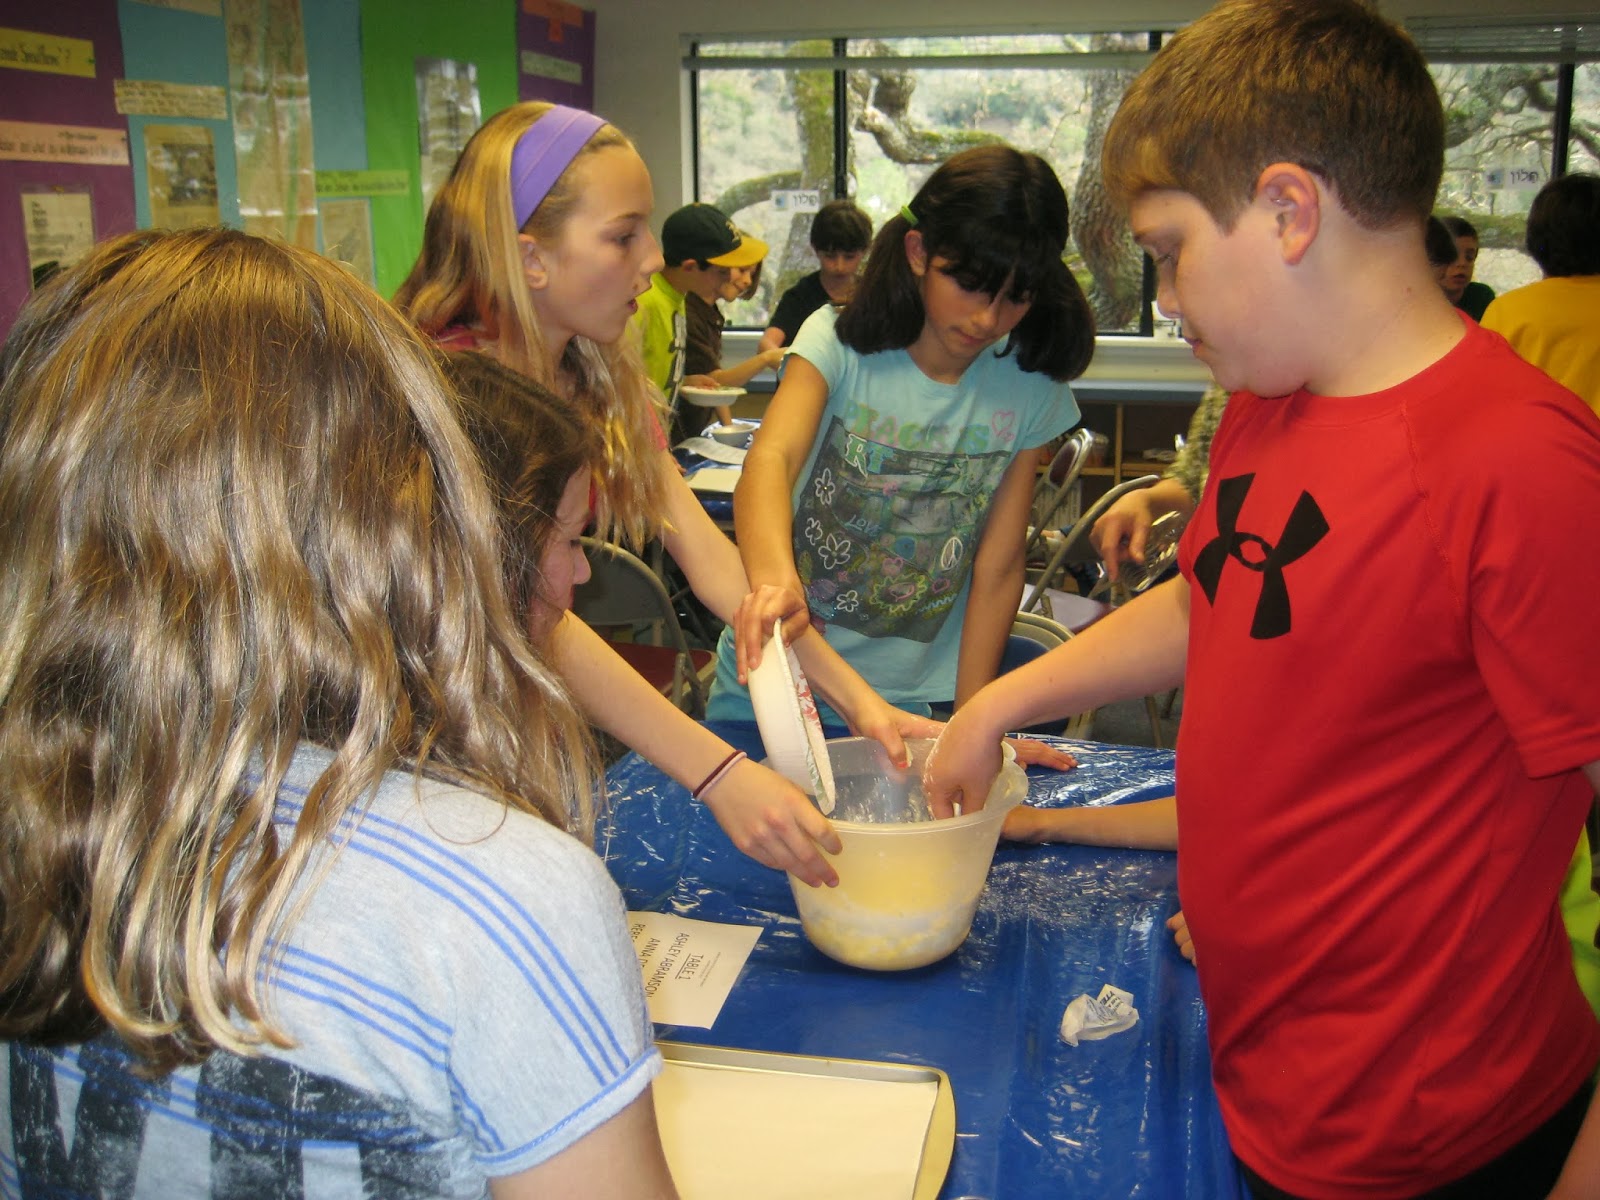
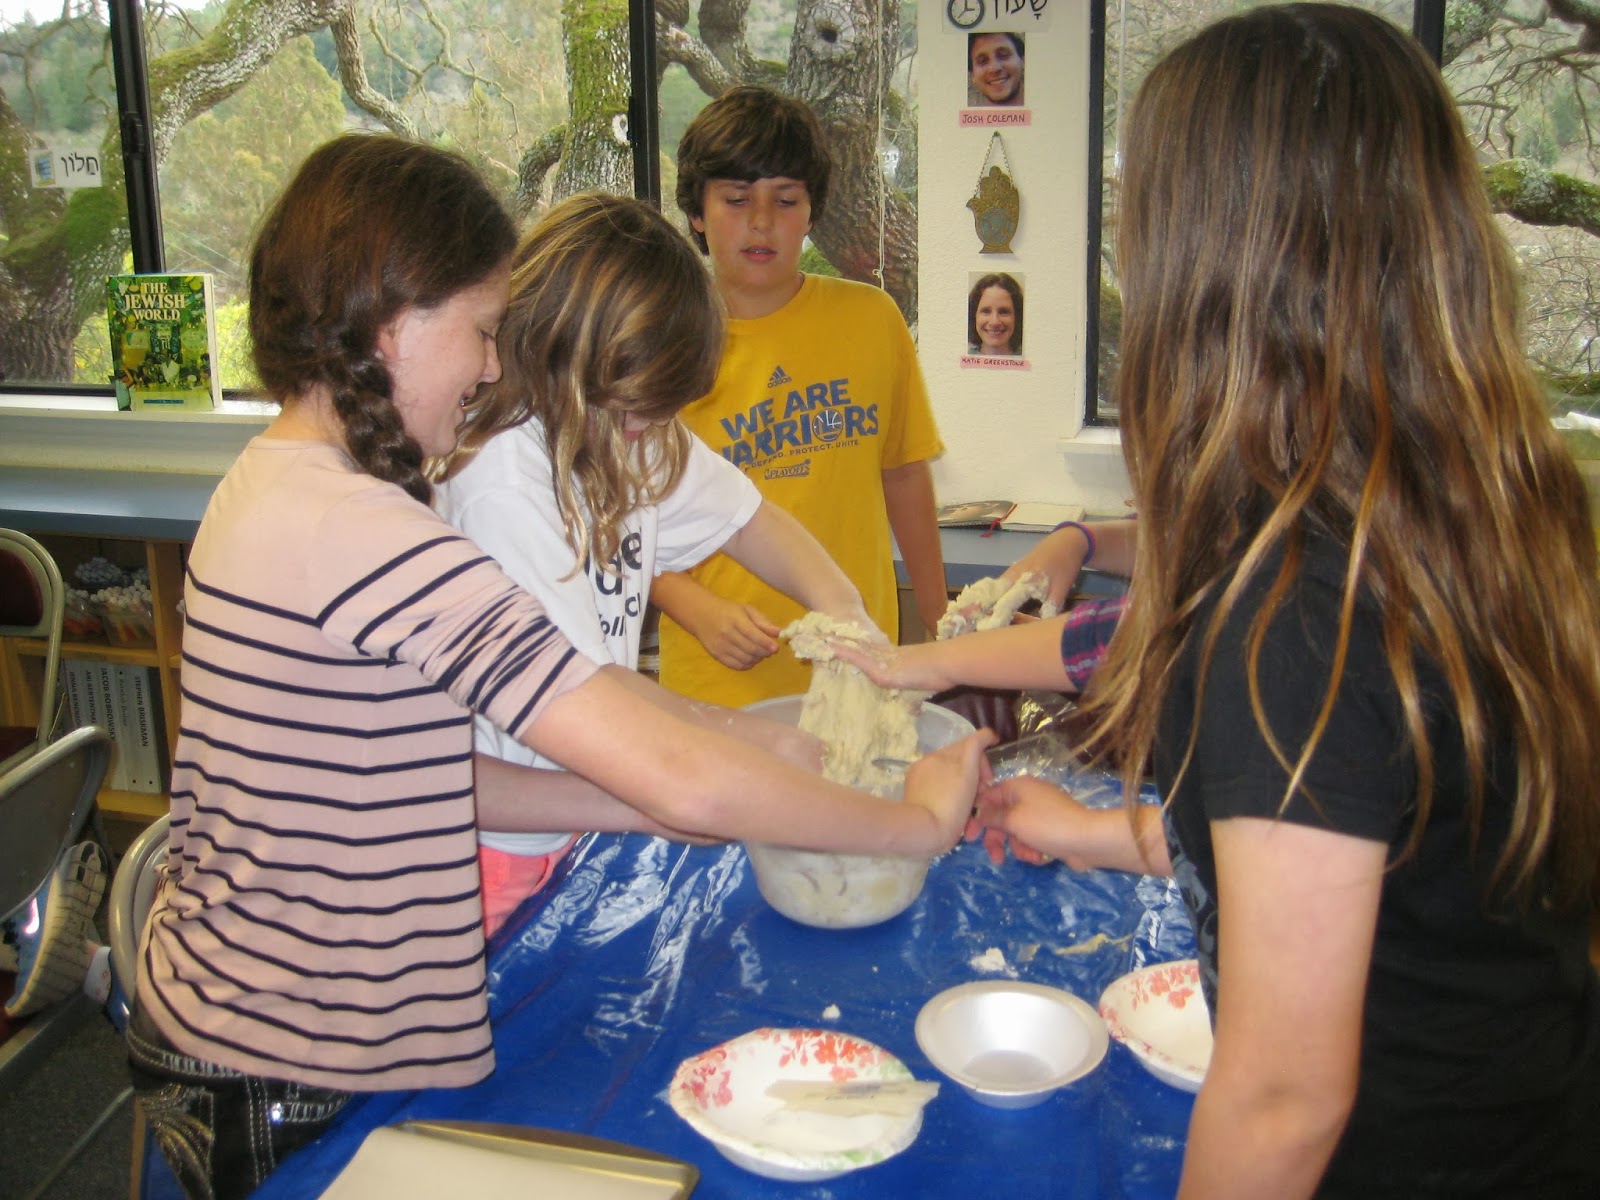
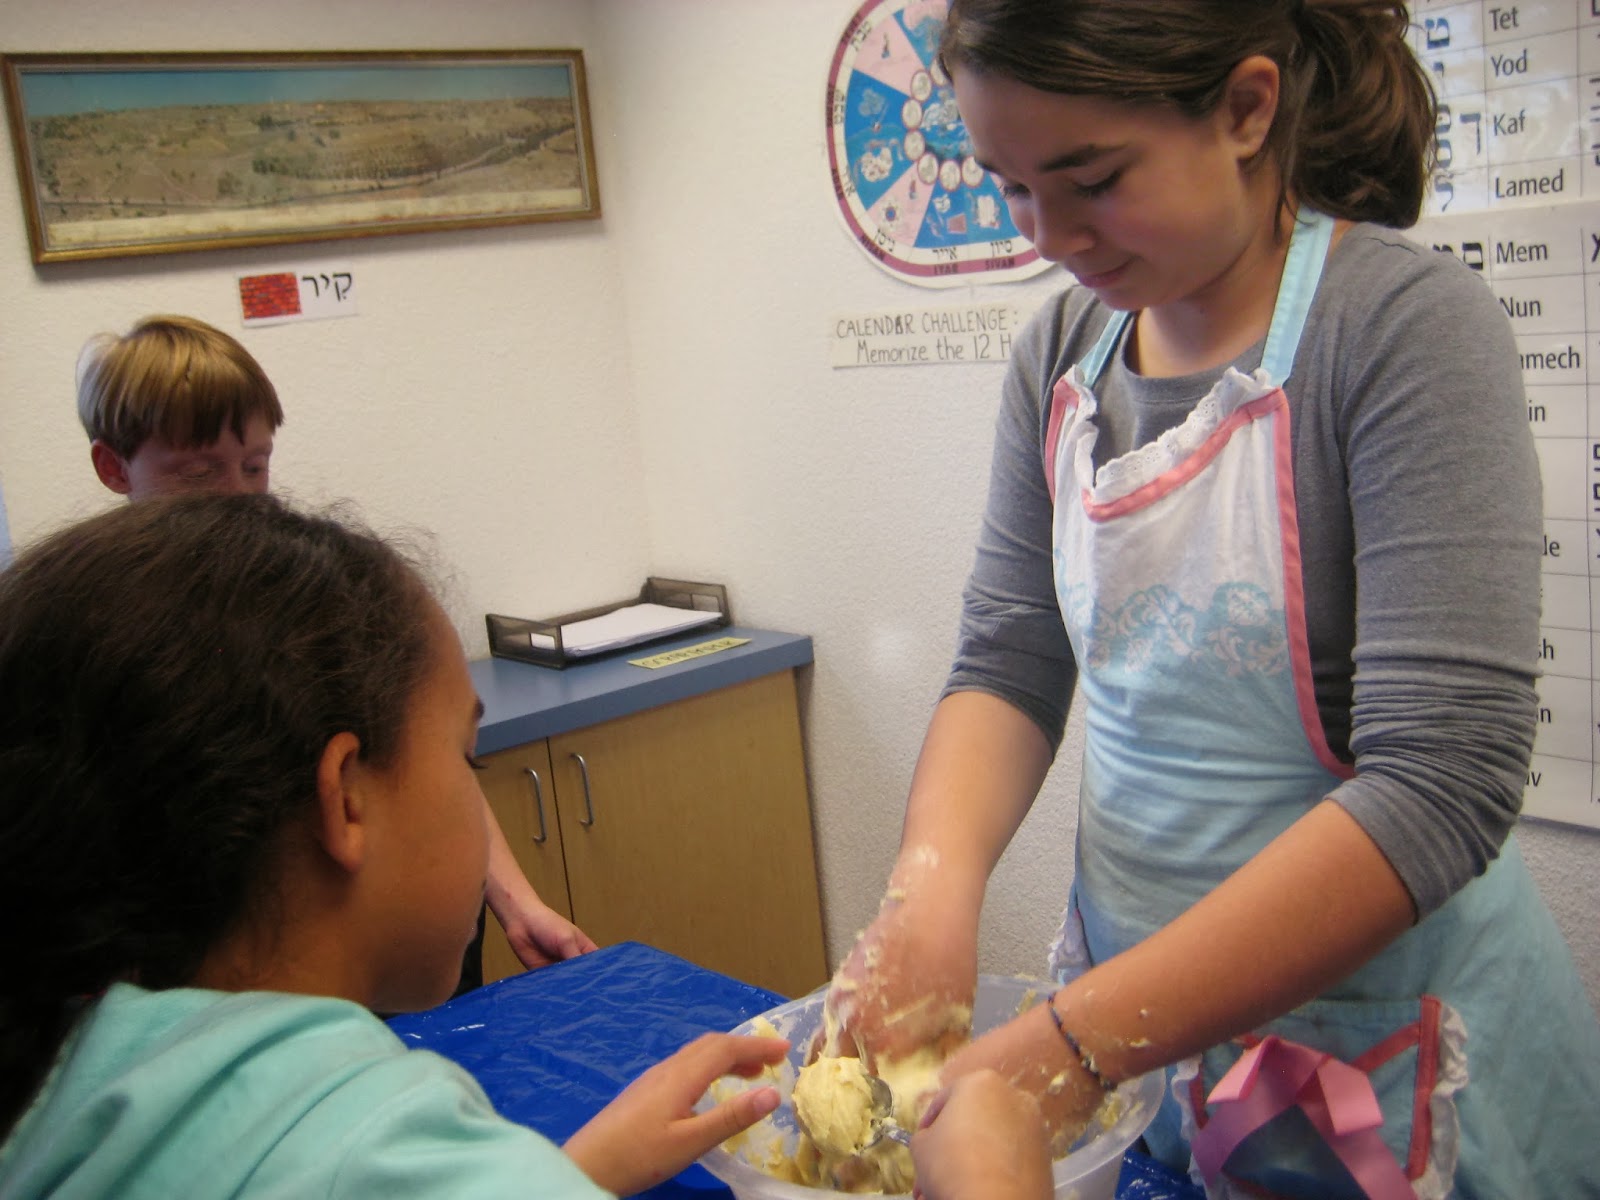
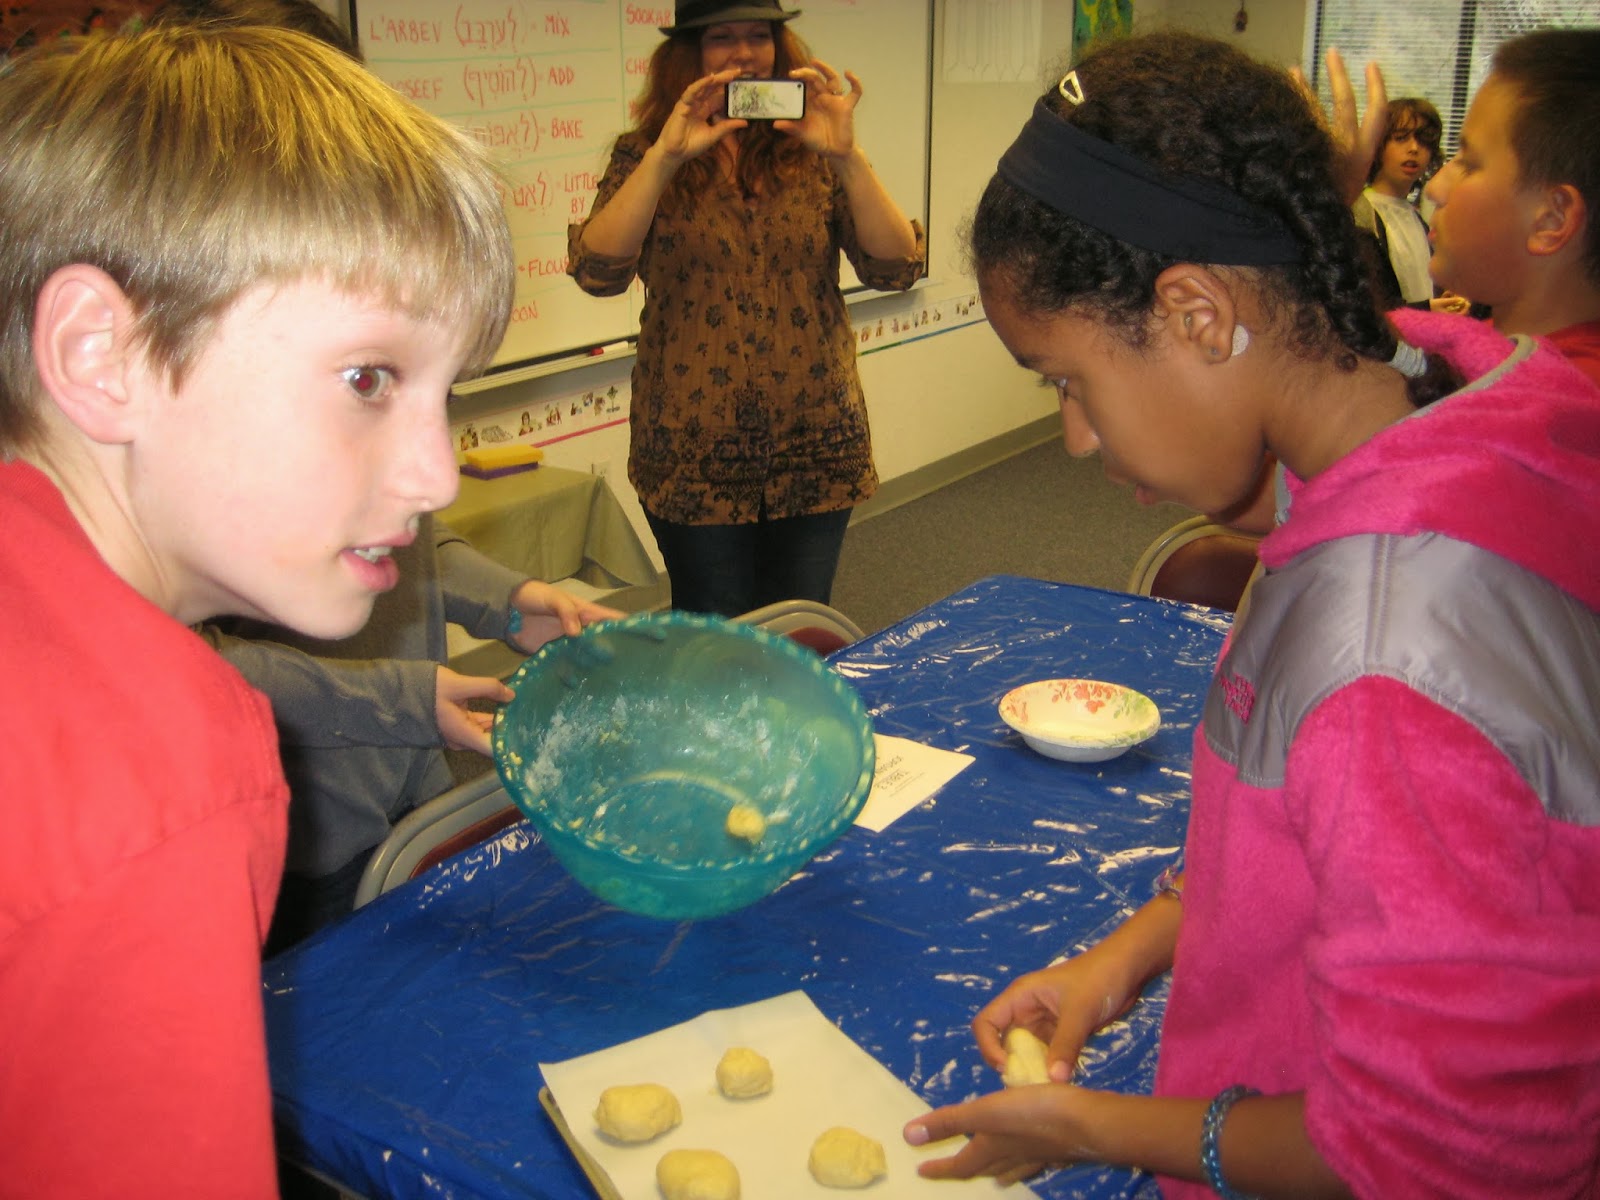
We'll be serving the Menena during our Chamsa Family Workshop. Since we only had about 30 minutes to prepare them, I prepared the dough and date paste at home using a food processor, and had the students shape the dough into the tartlet forms and add in the date paste during class.

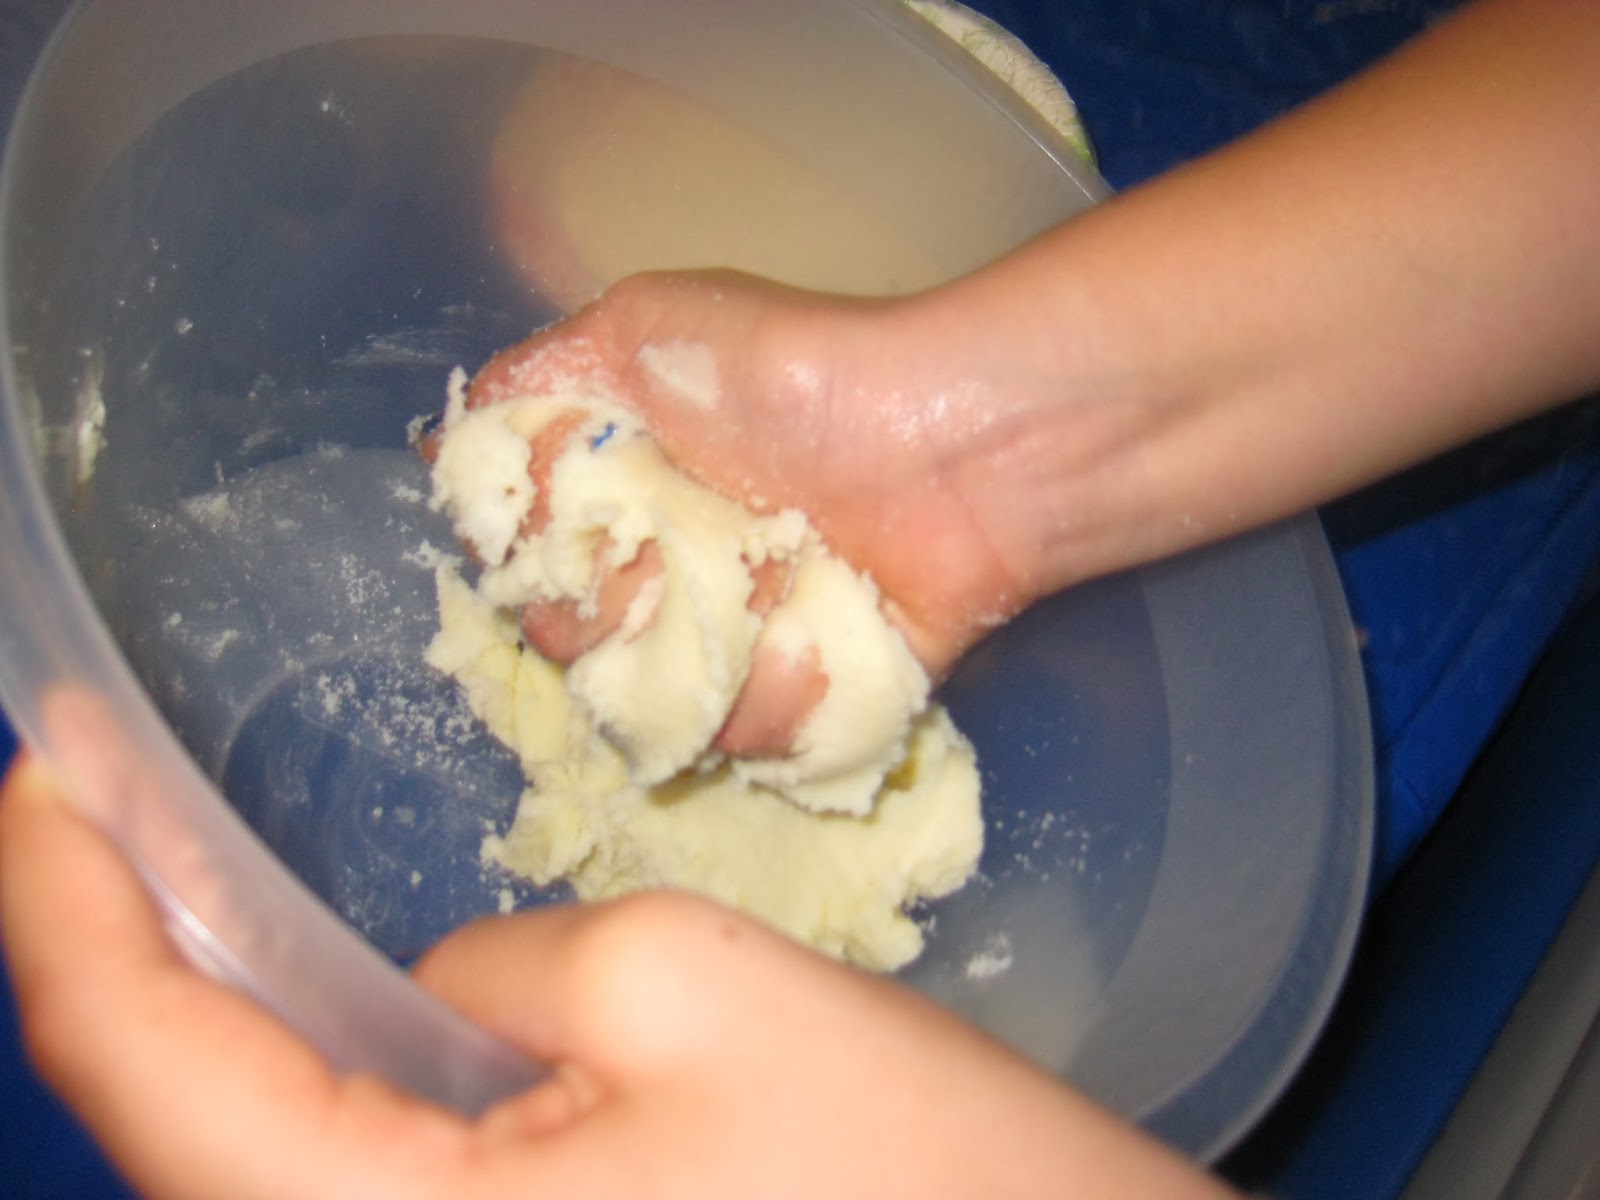
First, the dough had to be rolled into a walnut-sized ball:


Then the tartlet form had to be shaped by indenting the top of the dough ball with the thumb and pinching the sides:


Then the date paste was added into the bottom of the form:

That's going to be one very sweet pastry!

 Once the date paste was in, the dough had to be sealed over it, forming what looked like a pot sticker:


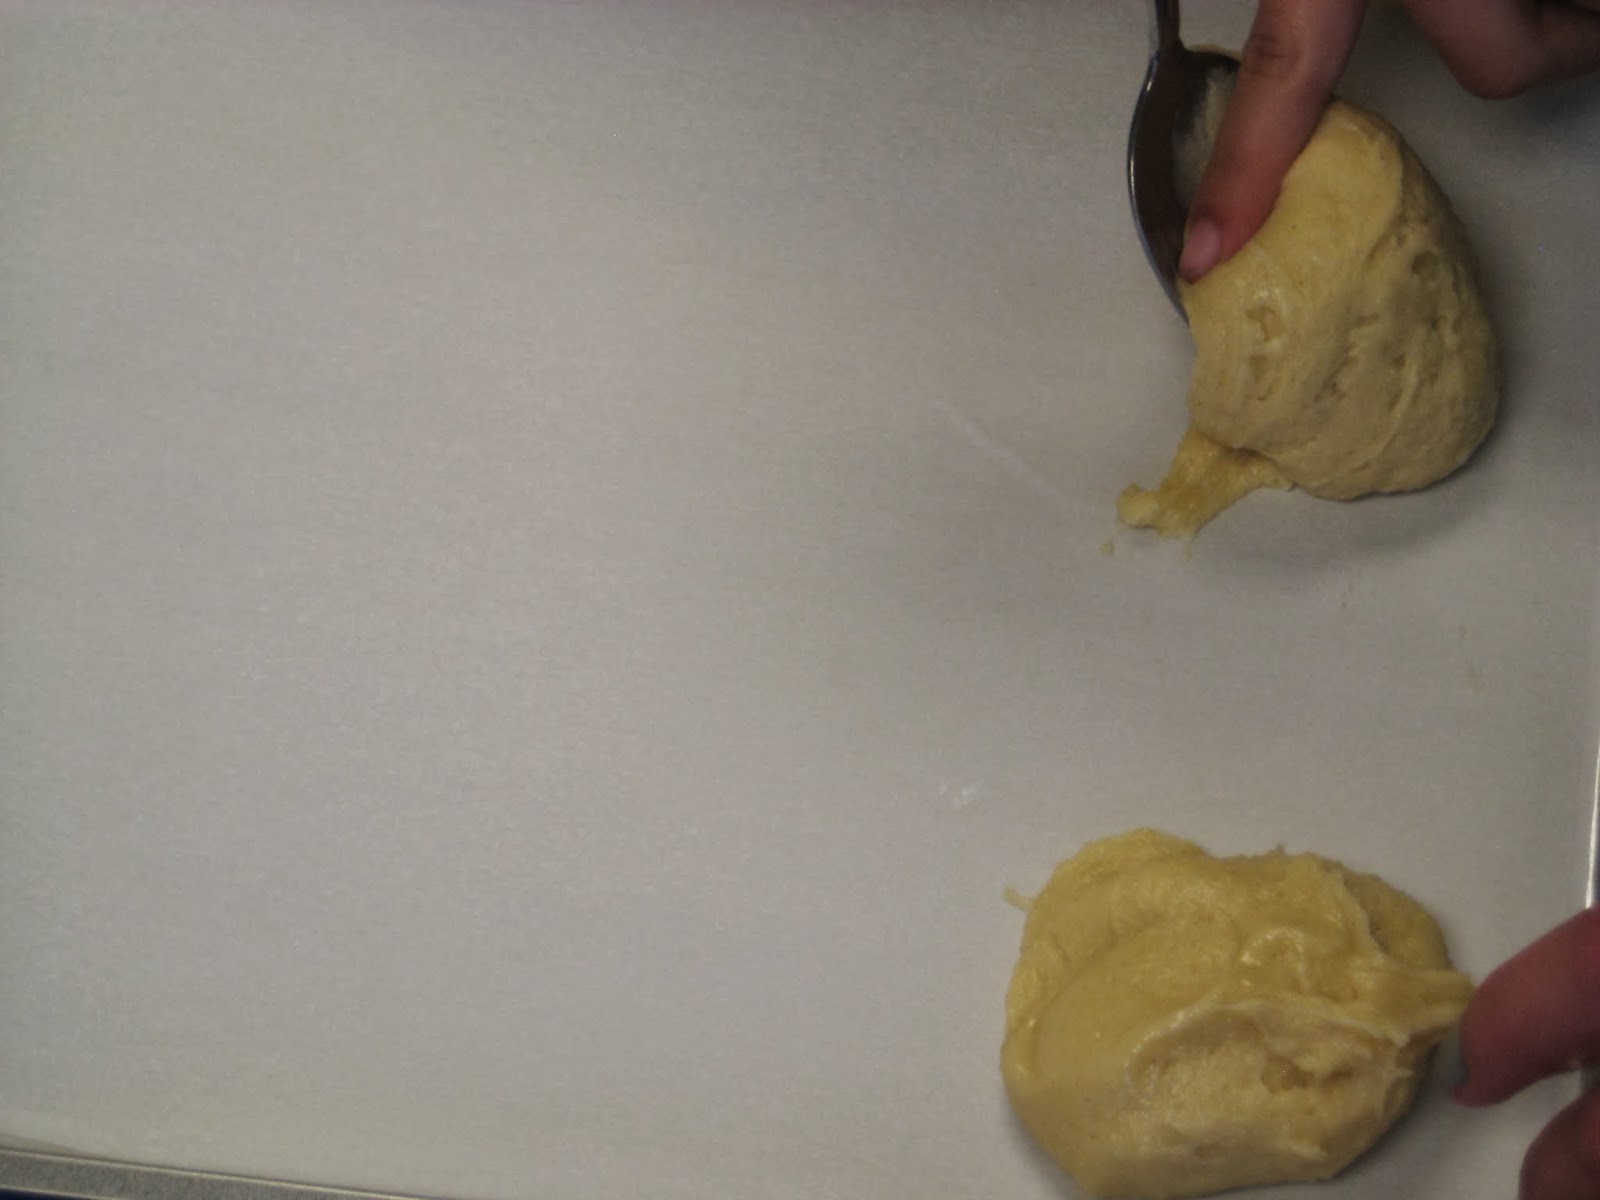
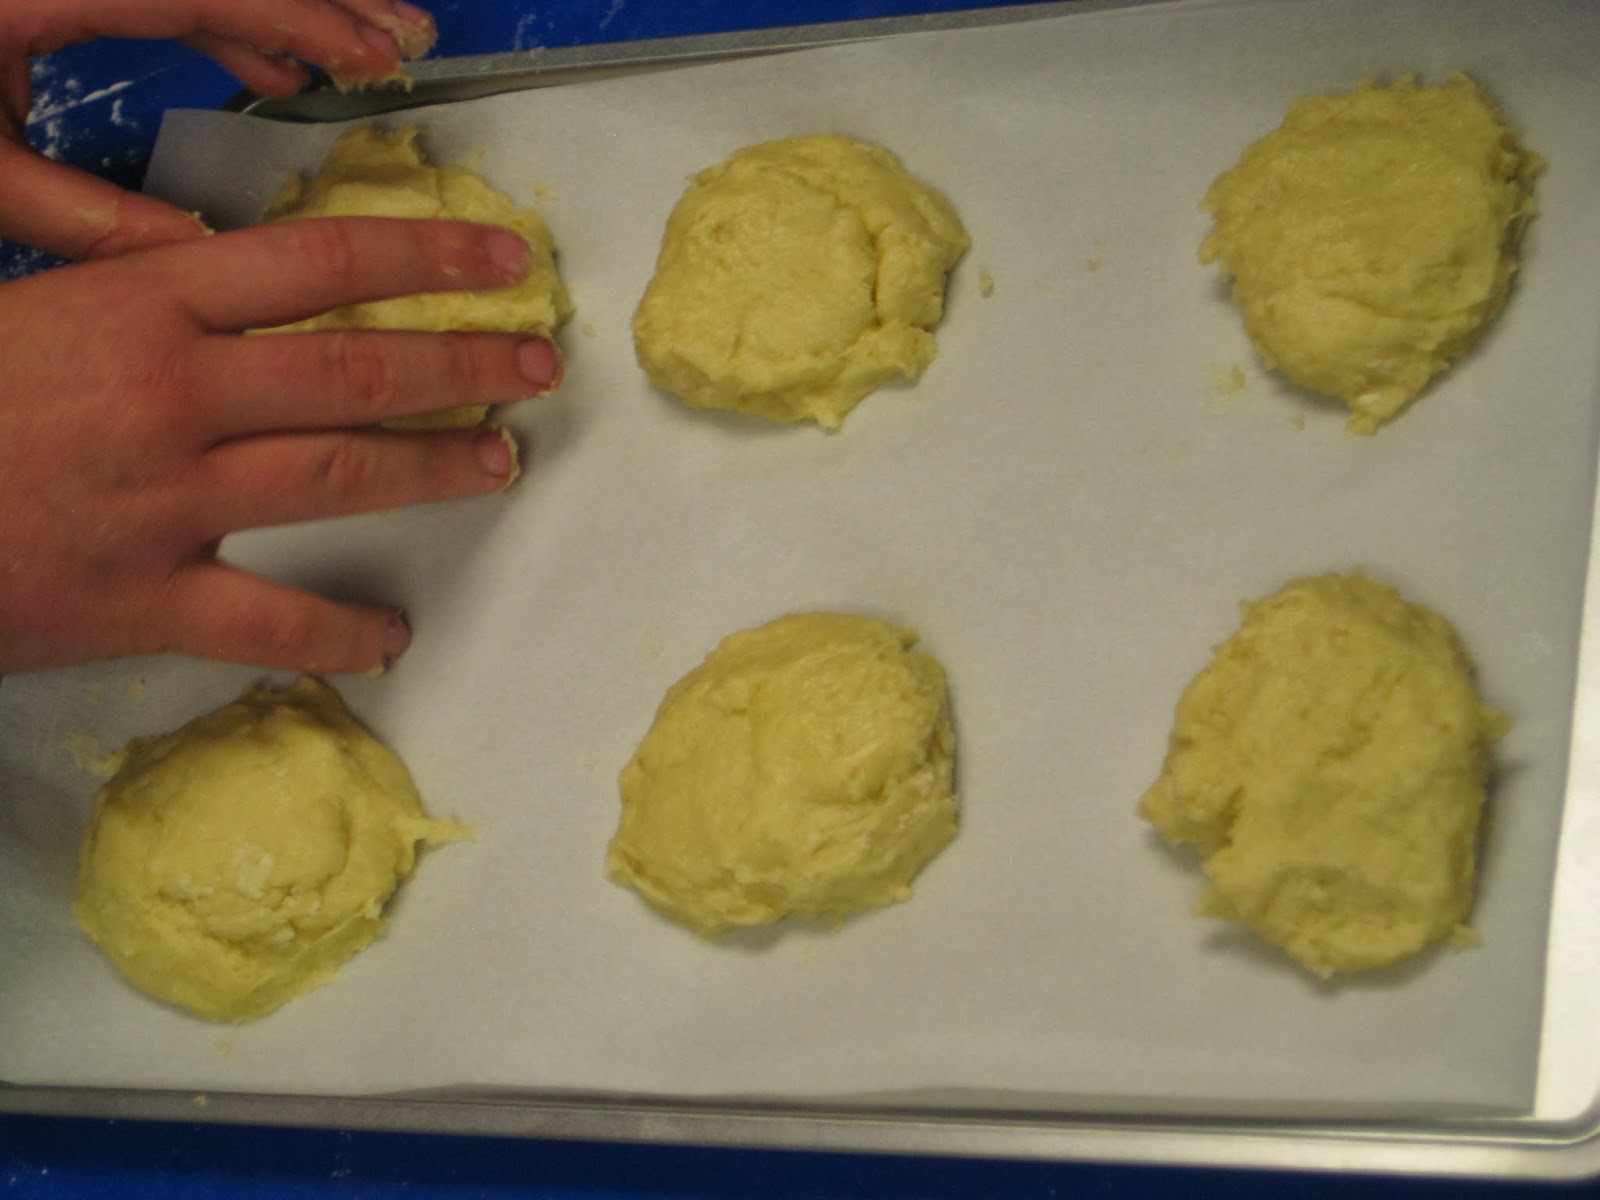
Then, finally, the "pot sticker" shape was rolled gently into a ball shape again, and put on the tray. Once on the tray, each ball was gently pressed down with the palm of the hand to form the final cookie shape:


I'm still waiting to hear from most of our Edot families as to whether you can join us on the 23rd. I hope you can all come to enjoy the skits, posters, and menena prepared by the students, as well as to join us in making copper foil chamsas. This workshop will serve as the culminating event for our unit of study about the Babylonian/Iraqi Jewish edah - the oldest of all the edot.


Zabar's Black & White Cookies

We began our weekday session, as always, with our half-hour Hebrew language elective. Our cooking elective is very popular, and so I'm challenged to find Jewish recipes which will take little time to prepare, and which will result in baked goods approved by the majority (if not all) of the students. So far, so good.

This week's recipe is one of my favorites. Black and White cookies (or, as we called them in Boston where I grew up, "Half-Moons") are light, spongy cookies, covered with chocolate and vanilla frosting. These cookies likely originated in the Northeast region of the U.S., though there is some confusion about where exactly.  Today, you can only find them in Jewish deli's, and so I count them as a "Jewish recipe." Zabar's is one of the most famous Jewish delicatessens in the country (and probably in the world, thanks to the internet).

In order to achieve the spongy texture, a cake flour has to be used which contains less protein than all-purpose flour. The cake flour is mixed together with the same amount of all-purpose flour, baking powder, sugar and salt, then added together with the other ingredients as follows:
Reisheet kol, la'seem et ha'chem'a l'toch ha'ke'ara ha'g'dola. (First of all, put the butter into the large bowl.)

Az, l'hoseef et ha'sookar l'toch ha'ke'ara, mey'al ha'chem'a. (Then, add the sugar into the bowl, over the butter.)
L'hak'reem et ha'chem'a v'ha'sookar b'yachad eem ha'etzba'ot. (Cream the butter and sugar together with the fingers.)
Achshav, leesh'bor et ha'beitzeem l'toch ha'ke'ara. (Now, break the eggs into the bowl.) From Jacob's expression, the chicken must have been fed a lot of calcium!
MAZEL TOV! The egg has landed - thankfully, in the bowl! 
L'hoseef et he'chalav v'et ta'am ha'vaneel v'ta'am ha'leemon l'toch ha'ke'ara...(Add the milk and the vanilla extract and the lemon extract into the bowl...)

...v'l'arbev et ha'kol be'yachad eem ha'kaf. (...and stir everything together with the spoon.)
Achshav zeh moochan l'hoseef et ha'kemach, avkat afeeya, ha'sookar, v'ha'melach. (Now it's ready to add the flour, baking powder, sugar and salt.)
L'hoseef otam l'toch ha'ke'ara L'AT L'AT! (Add them into the bowl LITTLE BY LITTLE!)
L'hamsheech l'arbev eem ha'kaf. (Continue to stir with the spoon.)
Nice technique - bending the bowl to create a spout to control how much flour mixture comes out
One stirrer, 4 supervisors
Teamwork - hold the bowl, pour in the flour, stir the mixture, and supervise
Achshav, l'arbev et ha'kol eem ha'yada'eem. (Now, stir everything with the hands.)
The dough won't let go!
Achshav, la'seem et ha'batzek al ha'kaf. (Now, put the dough on the spoon.) Jenna came prepared, apron and all!
Ve'az la'avor et ha'batzek me'ha'kaf la'tavneet. (And then transfer the dough from the spoon to the cookie sheet.)
Only 6 cookies per sheet - they need a lot of room to spread.
Sof sof, zeh moochan la'afot ba'tanoor. (Finally, it's ready to bake in the oven.)
After the cookies were baked and cooled, our professional icers (Josh and Natalie) performed their magic - not an easy task when you only have minutes left to frost all the cookies before the food critics - er, students - come to pick up the finished product and pronounce their decision.  THUMBS UP!!!
Maimone and Erin are helping Yardena and me on Wednesdays, and both are recording the proceedings for posterity!
This week's Hebrew vocabulary - hopefully, you can practice it at home with your children

We have one more session to go in this third round of Hebrew electives. We're off for the Presidents' Holiday next week, so on February 25th and 26th our students will choose a new (and final) elective for the final 6 weeks of Religious School.